

Published: August 20, 2026
Author: Backpacker Fitness Desk
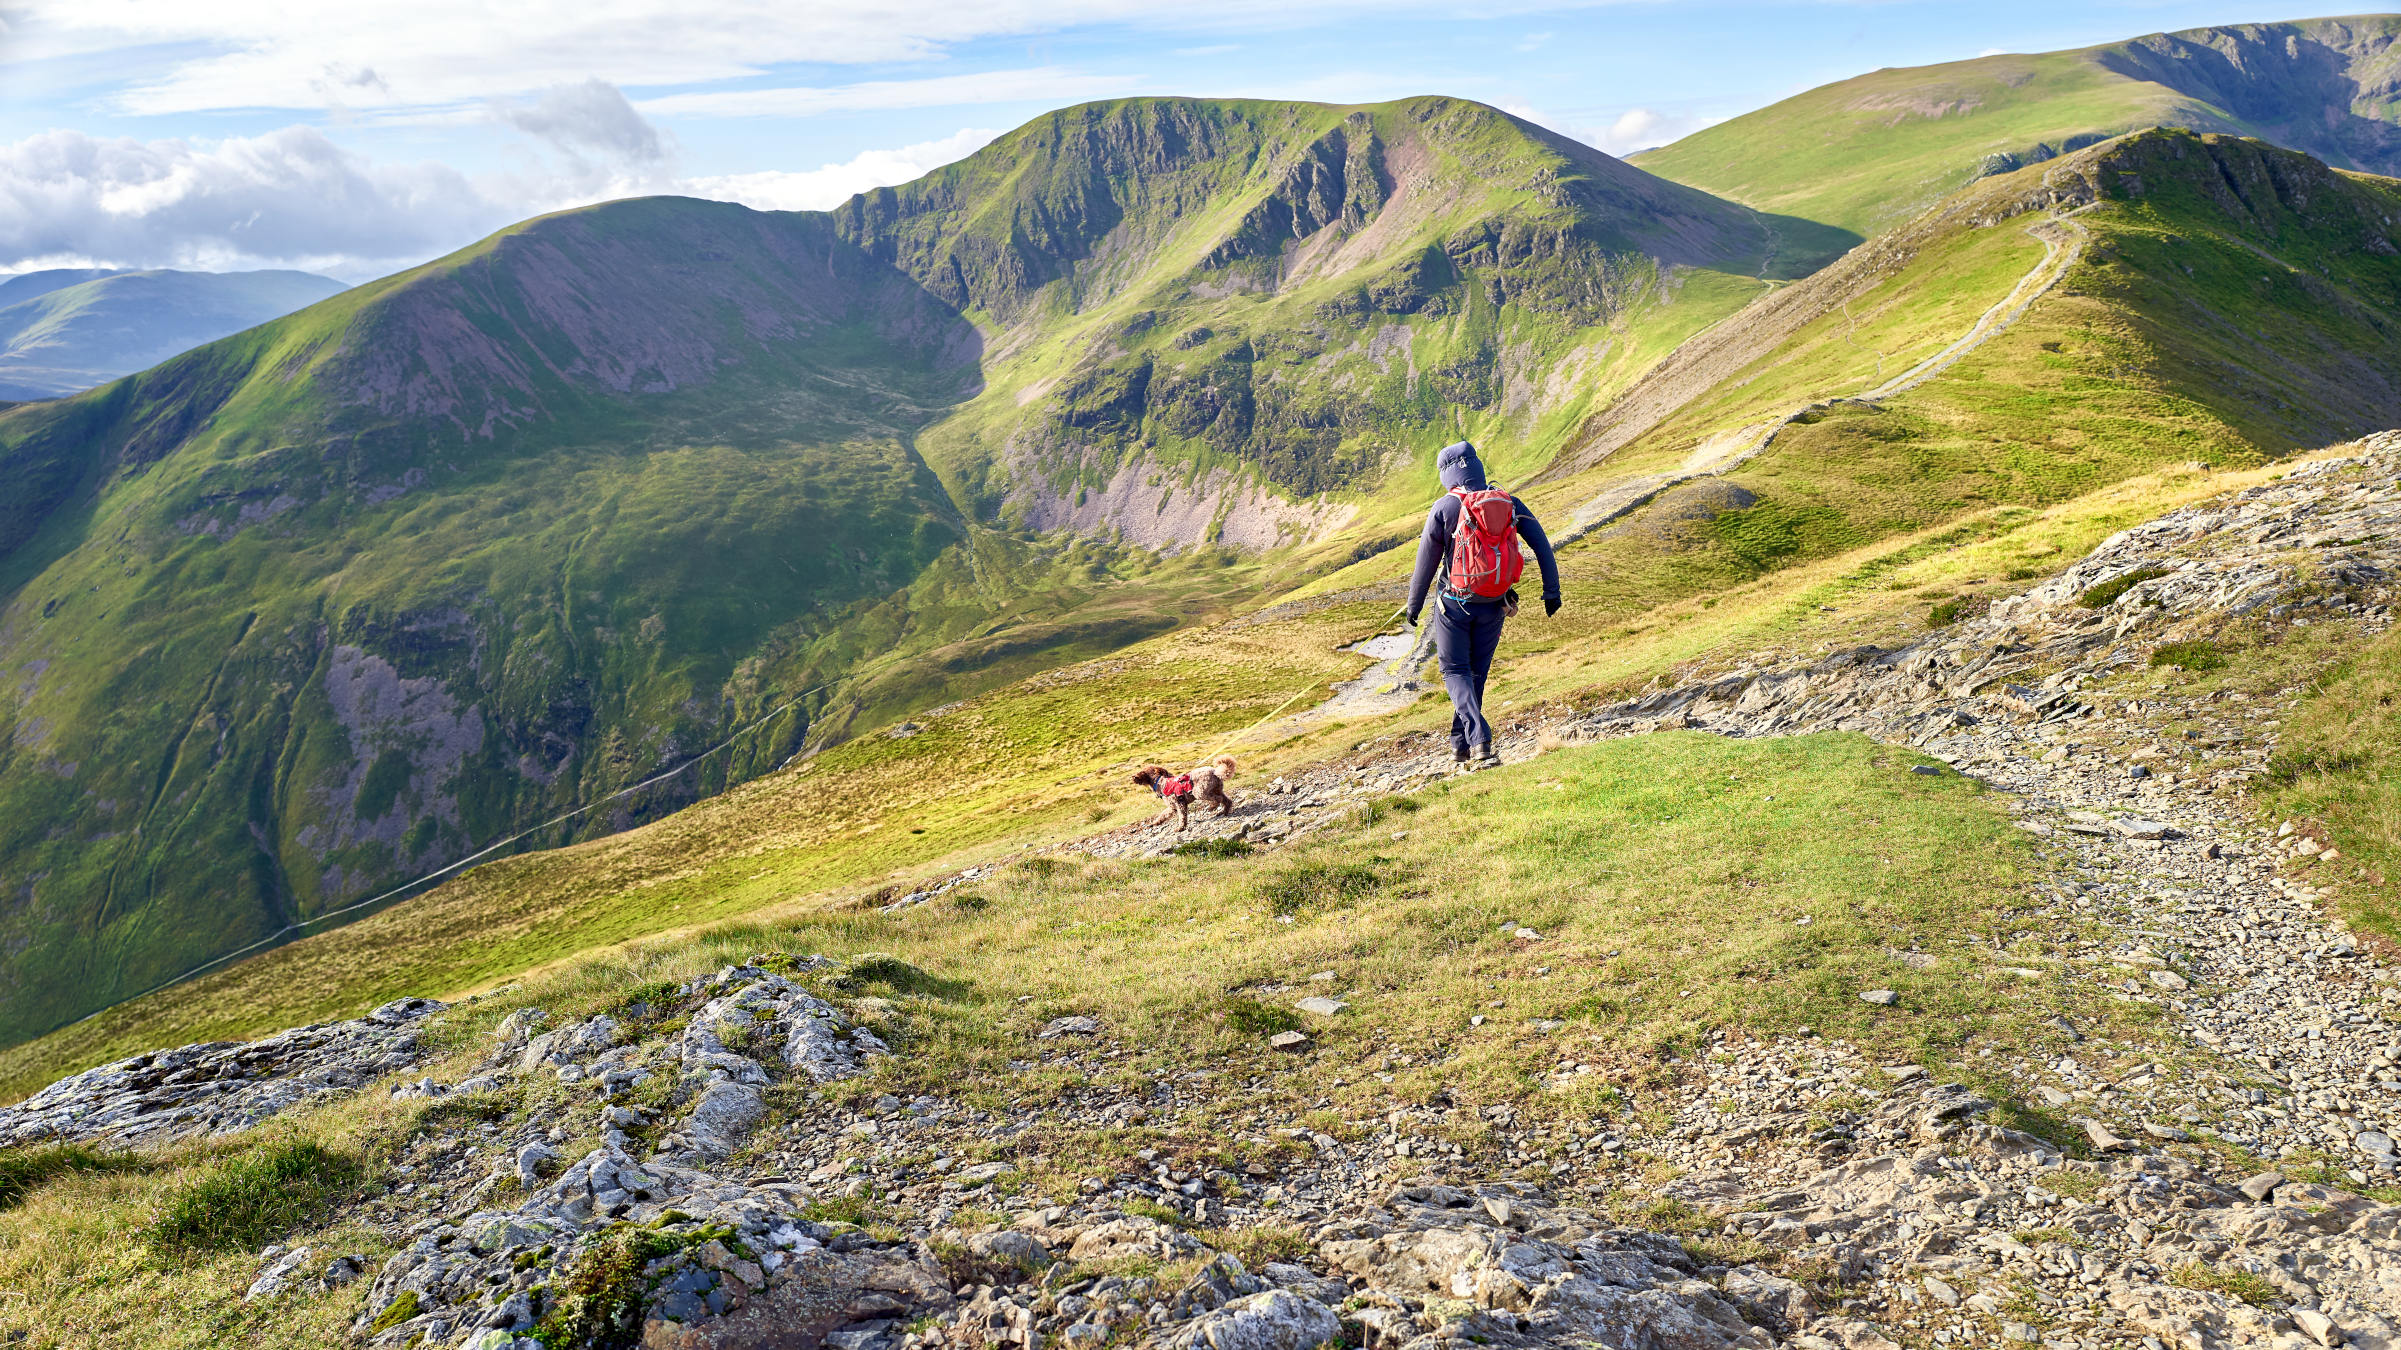
Most hikers fixate on the grueling climb to a mountain summit. They obsess over cardiovascular conditioning, lung capacity, and the raw power required to claw their way upward. Yet, long after the summit photos are filed away and the trail dust has settled, it is the descent that leaves a lasting impression—a brutal, unmistakable reminder written in deep, lingering muscle soreness every time you attempt to navigate a flight of stairs or lower yourself into an office chair.
While the ascent tests your cardiovascular engine, the descent is a mechanical trial of endurance, physics, and neuromuscular control. Without proper preparation, coming down a mountain can turn a dream backpacking trip into an agonizing trial of attrition. Fortunately, sports scientists and veteran mountaineers agree that downhill pain is not an unavoidable tax of hiking; it is a mechanical deficit that can be systematically trained, managed, and overcome.
Main Facts: The Physics of the Downhill
The core issue of any mountain descent boils down to biomechanics and eccentric muscle contraction. When you hike uphill, your muscles primarily undergo concentric contractions—shortening under load to push you upward against gravity. While this is metabolically exhausting, it is mechanically forgiving on joint structures.
Conversely, going downhill forces your body to act as a biological braking system. With every single step you take on a descent, your quadriceps—the large muscle group at the front of your thighs—must absorb massive amounts of kinetic energy. Instead of shortening, your quads are forced to lengthen while under heavy tension. This is known as an eccentric contraction.
- The Impact Toll: Every downward step multiplies the force exerted on your lower body, often translating to multiple times your body weight crashing down through your joints with each stride.
- The Fatigue Cascade: When your quads inevitably fatigue early in a descent due to this intense braking demand, they lose their shock-absorbing capacity.
- The Joint Compromise: As the primary muscles fail to bear the load, the secondary stabilizers—including your ligaments, tendons, and cartilage—are forced to pick up the slack. This breakdown in form drastically increases your risk of acute injuries, such as patellar tendinitis, ankle sprains, and debilitating knee strain.
Rather than approaching downhill preparation through the traditional lens of simply trying to build bigger muscles, modern physical therapists and mountain fitness experts advocate for training the body to execute three fundamental biomechanical actions: absorbing impact, controlling each step, and controlling the foot.
Chronology: Building a Pain-Free Descent Over 8 Weeks
You cannot cram for a mountain descent the night before a trek. Eccentric strength and neuromuscular coordination require targeted, progressive overload to adapt. Experts recommend a structured timeline to prepare your lower body for the unique stresses of the trail.
Weeks 1 to 2: Neuromuscular Awakening and Baseline Conditioning
During the initial phase, the goal is not heavy lifting or crushing volume. Instead, it is about waking up dormant stabilization pathways and establishing mind-muscle connection.
- Focus on mastering form with bodyweight or very light resistance.
- Introduce the four-second eccentric (lowering) phase to teach your nervous system how to control deceleration.
- Expect some initial soreness as your body adapts to eccentric loading for the first time.
Weeks 3 to 5: Progressive Overload and Stability Integration
As your nervous system adapts, you incrementally increase the demands placed on your stabilizer muscles.
- Add moderate external loads (such as dumbbells or weighted vests) to exercises like goblet squats.
- Increase step heights or repetition counts on lateral movements to test your balance under fatigue.
- Focus heavily on unilateral (single-leg) stability, mimicking the unpredictable, uneven terrain of a backcountry trail.
Weeks 6 to 8: Peak Simulation and Endurance
In the final weeks leading up to your backpacking trip, your training should closely mirror the physical realities of a full day on the mountain.
- Perform your routines three times a week with strict adherence to tempo.
- Combine movements into circuit-style workouts to simulate how your muscles will perform when they are already tired on mile eight of a descent.
- Taper your heavy lifting roughly one week before your actual trip to ensure your legs are fresh and fully recovered.
Supporting Data: The Anatomy of Downhill Stress
To truly understand why standard gym workouts—like flat-ground running or traditional upright squats—fail to prepare hikers for descents, we must examine the specific muscle groups taxed on the trail.
| Muscle Group / Structure | Primary Trail Function | Consequence of Weakness / Fatigue |
|---|---|---|
| Quadriceps | Acts as the primary brake during descent; absorbs impact force. | Severe delayed-onset muscle soreness (DOMS); anterior knee pain. |
| Gluteus Medius / Stabilizers | Maintains pelvic alignment and single-leg balance on uneven terrain. | Lateral knee tracking issues; ankle rolls; hip fatigue. |
| Tibialis Anterior (Shin) | Lifts toes to clear trail obstacles; brakes the foot upon ground strike. | "Shin splints"; toe-stubbing trips; uncontrolled foot-slap impact. |
Clinical observations of long-distance hikers reveal that structural joint degradation during multi-day treks is rarely caused by the climbs. Instead, orthopedic strains correlate directly with the cumulative volume of eccentric braking forces endured during descents. Training regimens that isolate eccentric strength have been shown to significantly reduce subjective reports of knee pain and accelerate post-hike recovery times.
Official Responses and Expert Insights
Mountaineering guides, physical therapists, and wilderness rescue personnel universally cite poor descent preparation as a leading catalyst for backcountry distress calls.
"We see it every single weekend," notes a seasoned Pacific Crest Trail wilderness guide. "Hikers power up the mountain, full of energy and ego, only to completely shatter their knees on the way down. By the time they reach the trailhead parking lot, they can barely walk. They treat the downhill as a time to passively coast, when it is actually the most mechanically demanding part of the journey."
Sports physical therapists emphasize that traditional linear strength training leaves a dangerous blind spot for outdoor athletes.
"People go to the gym, stack weight on a leg press, and push it away," explains a board-certified sports clinical specialist. "That is entirely concentric work. It does nothing to train the muscle how to put on the brakes when you step off a two-foot boulder with a 40-pound pack on your back. You have to train the brake system specifically."
Implications: The Three Pillar Exercises for Bulletproof Descents
To translate these scientific principles into actionable results, fitness experts recommend integrating three specific, highly targeted exercises into your weekly routine. Perform these movements three times a week for six to eight weeks leading up to your adventure.
1. Absorb Impact: Heel-Elevated Goblet Squats
The heel-elevated goblet squat is designed to maximize the range of motion for your quadriceps while mimicking the steep drop-offs encountered on mountain trails.
- The Setup: Elevate your heels by a couple of inches using a slant board or a pair of small weight plates. Hold a dumbbell or kettlebell closely against your chest.
- The Execution: Engage your core, unlock your knees, and lower your hips backward and downward, ensuring your hips drop below the level of your knees. Crucial detail: Take a full four seconds to descend. Keep your torso upright and your core tight. Squeeze your glutes to press back up to the starting position.
- The Prescription: Perform 3 to 4 sets of 12 to 15 repetitions, strictly maintaining the four-second lower phase. Ensure your knees do not collapse inward during the movement.
2. Control Every Step: Lateral Step-Downs
Descending a mountain trail requires thousands of micro-adjustments and single-leg stability landings. The lateral step-down directly conditions the muscles responsible for lateral knee stability and eccentric control.
- The Setup: Stand on a step measuring 6 to 8 inches in height (drop to 4 inches if you experience any acute joint discomfort). Stand with your left foot firmly planted on the step and your right foot hovering off the edge.
- The Execution: Bending strictly at the left knee, slowly lower your right heel until it gently taps the floor. Do not lunge or aggressively reach for the floor; let your left leg do 100% of the lowering work. Press through your left foot to return to the starting position.
- The Prescription: Aim for a slow, deliberate four-second lowering phase. Complete 3 sets of 10 repetitions per leg, eventually building up to 4 sets.
3. Control the Foot: Wall-Lean Toe Raises
The tibialis anterior—the muscle running down the front of your shin—is frequently overlooked, yet it is vital for clearing roots and rocks, and for preventing your foot from slamming down uncontrollably with every step.
- The Setup: Stand with your back and hips pressed flat against a wall, and walk your feet outward approximately 18 inches.
- The Execution: Keeping your legs completely straight, pull your toes upward toward your shins as high as possible. Control the descent of your foot back to the floor using a four-second lowering phase. Feel the muscle along your shin actively burning with every repetition.
- The Progression: To increase the difficulty, walk your feet further away from the wall. To make it easier, slide your feet closer.
- The Prescription: Perform 3 to 4 sets of 15 to 20 repetitions.
Conclusion
Conquering the mountain does not end at the peak; your journey is only half over when you turn around to head back down. By shifting your training philosophy away from simple concentric strength and toward eccentric shock absorption, step control, and foot stabilization, you can fundamentally transform your backcountry experience. Dedicate six to eight weeks to preparing your body for the descent, and you will step off the trail with fresher legs, healthier joints, and the confidence to explore further than ever before.
