By Nature Photography Editorial Team Published: February 2025
Main Facts: The Core of Photographic Illumination
In the realm of professional photography, the adage that "photography is painting with light" holds absolute truth. Across every genre—whether capturing the wild expanses of open savannahs, the intricate micro-details of flora and fauna, the sweeping grandeur of rugged mountain vistas, or the elusive shadows of the deep blue sea—lighting remains the single most critical variable determining whether an image is merely a technical recording or a breathtaking work of art.
Mastering illumination involves far more than simply ensuring a correct exposure; it requires an intimate understanding of light’s direction, quality, color temperature, and emotional resonance. Professional nature photographers do not just react to light—they anticipate it, chase it, plan for it, and, in specialized environments, actively create it.
This comprehensive guide serves as an overarching framework for photographers looking to elevate their craft. By synthesizing techniques across wildlife, landscape, underwater, and macro photography, creators can unlock the secrets to harnessing natural and artificial illumination, transforming standard compositions into award-winning visual narratives.
Chronology: The Evolution of Light in the Photographic Workflow
Understanding how lighting has transformed from a rigid technical constraint into a flexible creative medium requires looking at the historical and practical timeline of a professional shoot. Whether working in the field for an hour or over multiple days, a photographer’s relationship with light follows a distinct chronological progression:
Phase 1: Pre-Shoot Reconnaissance and Planning (The Days Before)
Long before the shutter is ever clicked, professional landscape and wildlife photographers study sun angles, cardinal directions, and weather patterns. Utilizing digital tools and topographic maps, they plot where the golden hour light will strike a specific mountain ridge or watering hole. In underwater and macro photography, planning involves assessing water clarity, tidal movements, and the specific equipment (such as strobes, diffusers, and continuous LED lights) required to supplement deficient ambient light.
Phase 2: The Blue Hour and Sunrise (The Awakening)
The photographic day often begins well before dawn. During the "blue hour," indirect sunlight creates cool, ethereal tones ideal for moody landscapes and atmospheric wildlife encounters. As the sun breaches the horizon, the golden hour commences. For a brief window, low-angle sunlight floods the scene with warm, directional rays, casting long, dramatic shadows that add depth and texture to fur, feathers, frost, and foliage.
Phase 3: Harsh Midday Challenges (The Adaptation)
As the sun climbs overhead, the light hardens, becoming harsh and creating high-contrast scenes plagued by blown-out highlights and dense shadows. Seasoned photographers learn to adapt during this chronological window. Rather than packing up their gear, they shift their focus to shaded canopy environments, utilize macro photography techniques with artificial diffusion, or move underwater where ambient light filters through the water column in shifting, dappled patterns.
Phase 4: Sunset and Twilight (The Grand Finale)
As evening approaches, the light cycle reverses. The golden hour returns, offering a final opportunity for warm, backlit compositions—such as wildlife silhouetted against a fiery horizon or coastal landscapes gleaming with rich amber reflections. The day concludes with the second blue hour, wrapping up a full diurnal cycle of lighting challenges and opportunities.
Supporting Data and Technical Dynamics
To truly harness photographic light, one must understand the quantitative and qualitative variables that govern it. Professional gear, atmospheric conditions, and physical laws all dictate how light interacts with a camera sensor.
Quality: Hard vs. Soft Light
Hard Light: Characterized by intense, direct rays from a small light source (such as a cloudless midday sun or an un-diffused flash). It produces sharp, well-defined shadows and high contrast. While often avoided in portraits and landscapes, hard light can be leveraged effectively for high-contrast, dramatic wildlife silhouettes or abstract shadow play.
Soft Light: Generated by large, diffused light sources—such as overcast skies, morning mist, or light filtered through a dense forest canopy. Soft light wraps around subjects, minimizing harsh shadows and revealing subtle tonal gradients, making it the preferred choice for delicate macro subjects and intimate wildlife portraits.
Direction: Front, Side, and Backlighting
Front Lighting: The light source is positioned behind the photographer, illuminating the subject fully. While this minimizes shadows and reveals maximum detail, it can render an image flat and two-dimensional.
Side Lighting: Striking the subject from the side, this directional light creates deep shadows and pronounced highlights. It is exceptionally powerful in landscape and macro photography, as it emphasizes textures, contours, and three-dimensional depth.
Backlighting (Rim Lighting): The light source is positioned behind the subject, facing the camera. This technique creates a luminous halo or "rim light" around fur, hair, or translucent leaves, instantly separating the subject from the background and adding a dramatic, ethereal quality to the photograph.
Official Perspectives and Expert Insights
Industry leaders and master conservation photographers consistently emphasize that gear is secondary to light awareness. According to veteran field educators, the transition from an amateur photographer to a master often hinges on a psychological shift: stopping to look at the light rather than just looking at the subject.
"Light transforms the ordinary into the extraordinary. You can have the rarest wildlife species or the most majestic mountain range in front of your lens, but without compelling light, the image will fail to resonate. Conversely, mundane subjects can be elevated into masterpieces simply through exceptional, dramatic illumination." — Leading Nature Photography Educators
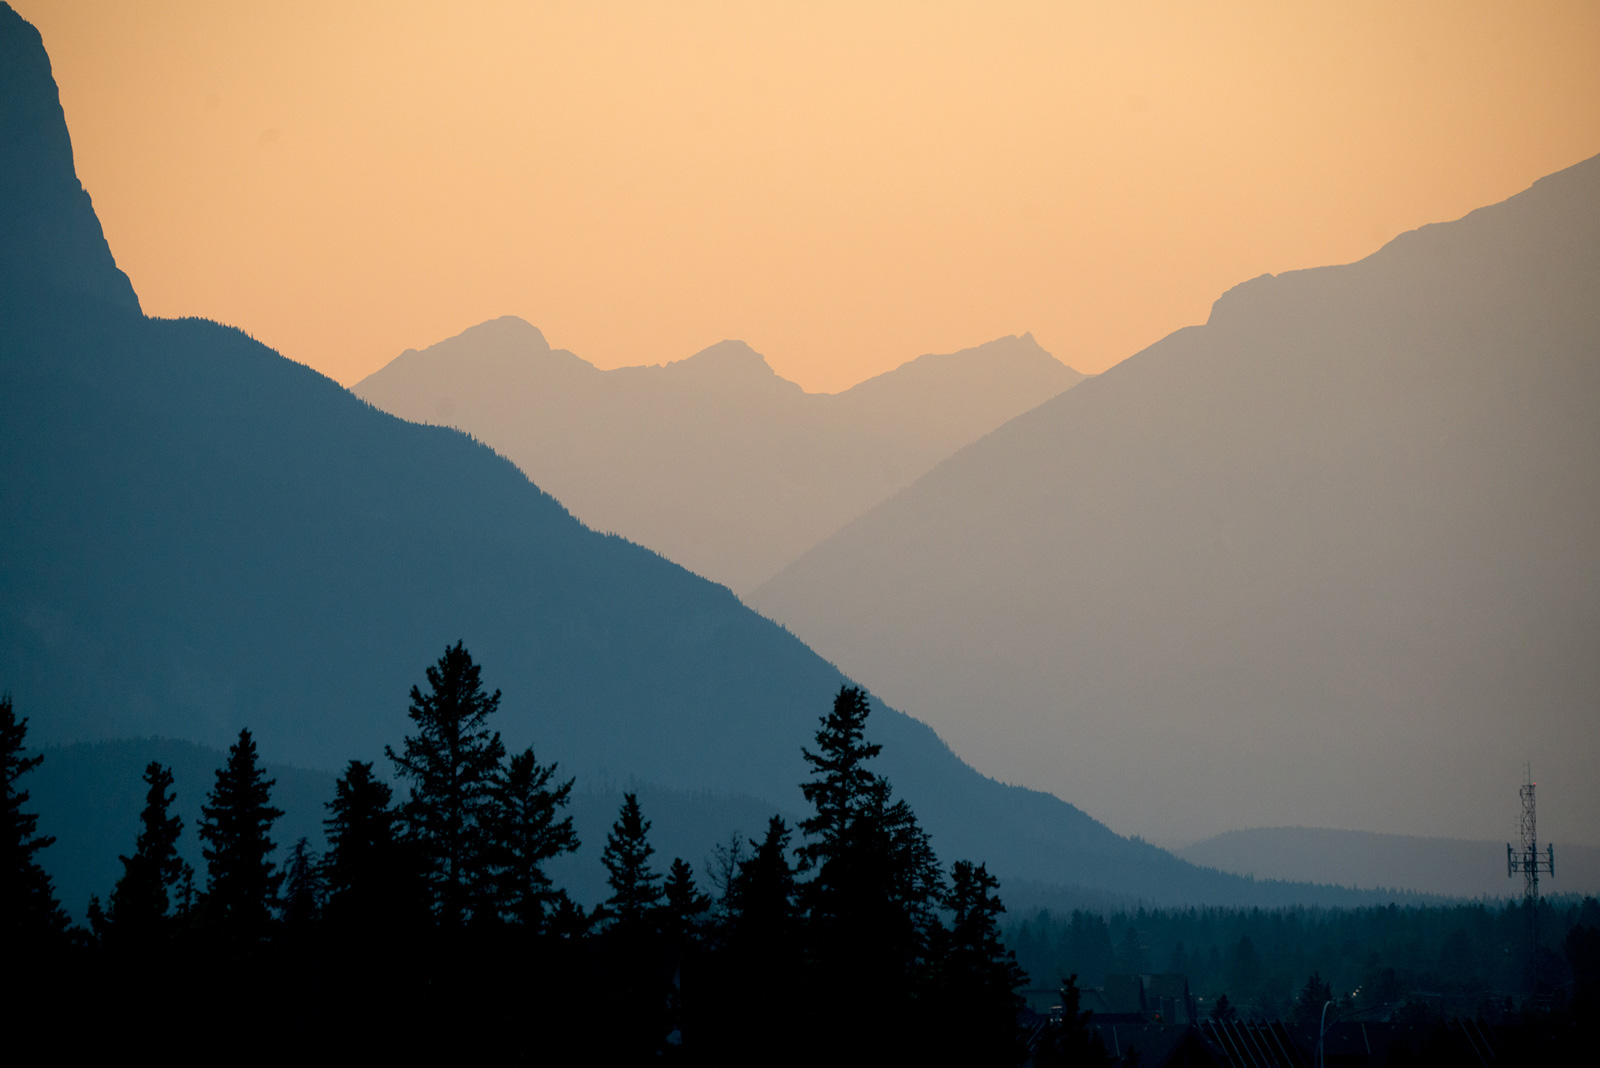
Furthermore, professional organizations and optical scientists note that environmental changes—such as shifting cloud cover, atmospheric particulate matter (wildfire smoke, dust, or pollution), and humidity—drastically alter Kelvin color temperatures. Understanding how to manually adjust white balance rather than relying solely on Auto White Balance (AWB) is highlighted as a fundamental competency for modern digital photographers aiming for color accuracy and emotional mood.
Implications: Genre-Specific Applications and Mastery
The principles of lighting manifest differently depending on the specific branch of nature photography. Below is an exploration of how lighting principles apply across four major disciplines:
1. Wildlife Photography: Capturing Life in Motion
Photographing animals requires patience not only with the fauna, but with the environment. Wildlife photographers must anticipate how an animal will move relative to the sun. Backlighting during early morning hours can turn a lion’s mane or an egret’s feathers into a glowing crown of light. Understanding animal behavior in conjunction with light allows photographers to capture expressive, emotive moments that tell a compelling story about survival and nature.
2. Landscape Photography: Sculpting the Earth
For landscape artists, light dictates the emotional tone of an image. Golden hour light introduces warmth and drama, while overcast or stormy conditions yield moody, contemplative blues and grays. Mastering exposure in landscape photography requires balancing dynamic ranges—often using graduated neutral density (GND) filters or bracketed exposures—to capture both the blinding brightness of the sky and the deep shadows of the foreground terrain.
3. Underwater Photography: Defying the Water Column
Water absorbs light rapidly, filtering out warm wavelengths (reds and yellows) within the first few meters, leaving images monochromatic and blue-green. Underwater photographers must bridge this gap by mastering ambient sunlight management in shallow, clear waters, or by deploying specialized strobes and off-camera lighting rigs in deeper environments. Proper positioning of artificial light prevents backscatter (illuminating floating particles) and restores the vibrant, natural colors of marine life and coral reefs.
4. Macro Photography: Revealing the Microscopic World
In macro and close-up photography, depth of field is razor-thin, and small apertures (high f-numbers) are frequently required to keep a subject in sharp focus. This severely limits the amount of light hitting the sensor, necessitating artificial aids like twin flash setups, ring lights, or LED panels equipped with diffusers. Softening and directing light at miniature scales allows photographers to highlight the glistening texture of a dew-dropped spider web or the iridescent scales of an insect.
Conclusion
Lighting is the ultimate brush with which photographers paint their visions. By moving beyond basic exposure and deeply studying the nuances of direction, quality, and environmental interaction, photographers across all disciplines can radically elevate their imagery.
Whether tracking elusive wildlife across sun-drenched plains, composing a misty forest landscape, diving into the ocean depths, or exploring the miniature universe beneath your feet, light remains the universal language of visual storytelling. Harness its power, adapt to its shifts, and let your photography shine.